


The natural instinct of a chicken is to explore its world for every tasty grub and insect it can find to swallow. Their greatest pleasure comes from shuffling around in the dirt, scratching up plant roots and delicous worms to eat. However, letting your flock freerange around your yard can lead to a disaster for your lawn. Not only will your yard get eaten to the roots, it will also be littered with feces.
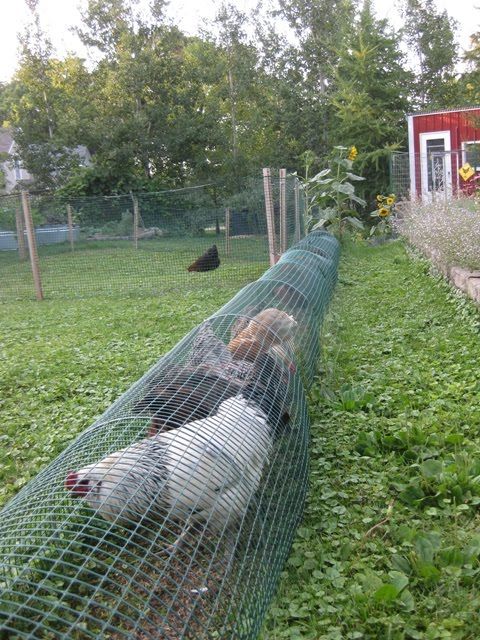
A good solution to this problem is to build a chicken tunnel. Chicken tunnels give your birds the freedom to explore their world and find insects and plants to eat without ruining your backyard. It’s an ideal situation for you and your birds- and your flower gardens.
With a chicken tunnel, you can let your chickens out at a certain time every day and even restrict them to certain parts of the tunnel if you don’t want them going through the whole thing.
Even better, many chicken tunnels are mobile, meaning you can move it to different parts of your yard to prevent any area from getting worn down too much.

When your chickens have consumed all the tasty edibles in the path of their tunnel, it’s time for you to move it to a new location in order to give them a fresh crop of bugs and plants to chow down on. This also benefits the old path by giving it a chance to recooperate before the chickens are brought back in a few weeks. If you have a small enough yard and enough chickens, they can also work as a lawnmower to keep you grass tripped down.
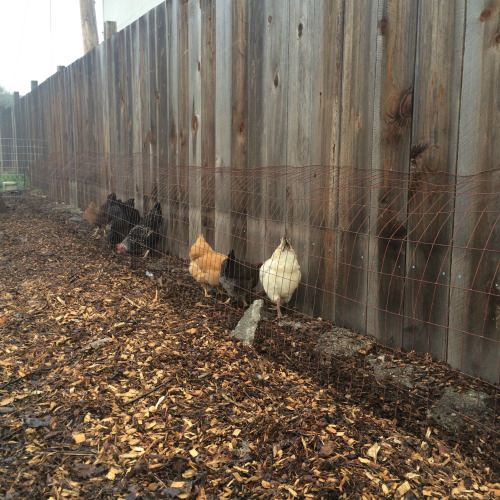
Perhaps the best part of a chicken tunnel is the freedom that it gives your birds to move around and balance out their diet with what they can forage, all while staying safely protected from neighboring predators. It’s perfect!
Making Your Own Chicken Tunnel
This DIY project may seem overwhelming, but in actuality it’s very simple, just gather the following supplies:
– hard wire (you will need to make your own measurements based on the size of your yard and how big you want the tunnel to be to figure out how much to buy)
– wooden two by fours (again, the amount needed will depend on the size of your tunnel- make your measurements before you buy supplies!)
– nails
Set aside a couple hours for this project. First, bend your hard wire into a half circle, making sure the area it creates is big enough to fit over the chicken door on their coop.
Nail the hard wire to the bottom of the boards and connect it through both sides so that it creates a tunnel. One side of the tunnel shoudl stay open to let the chickens in, but the other side should be blocked off so they can’t get out. You can seal the end by bending the wire to the bottom of the boards and nailing it in place.
Remember, chickens like to peck and explore, and if you don’t seal the end properly they might find a way to escape!
And just like that, you have the beginnings of your chicken tunnel. You can add extra pieces and make the tunnels as big as you want, depending on the size of your flock. Once you spend an afternoon watching your birds scuttle around their new tunnel, you might find you get almost as much enjoyment from it as they do.


